Slab Leak Spot Repair in Arizona
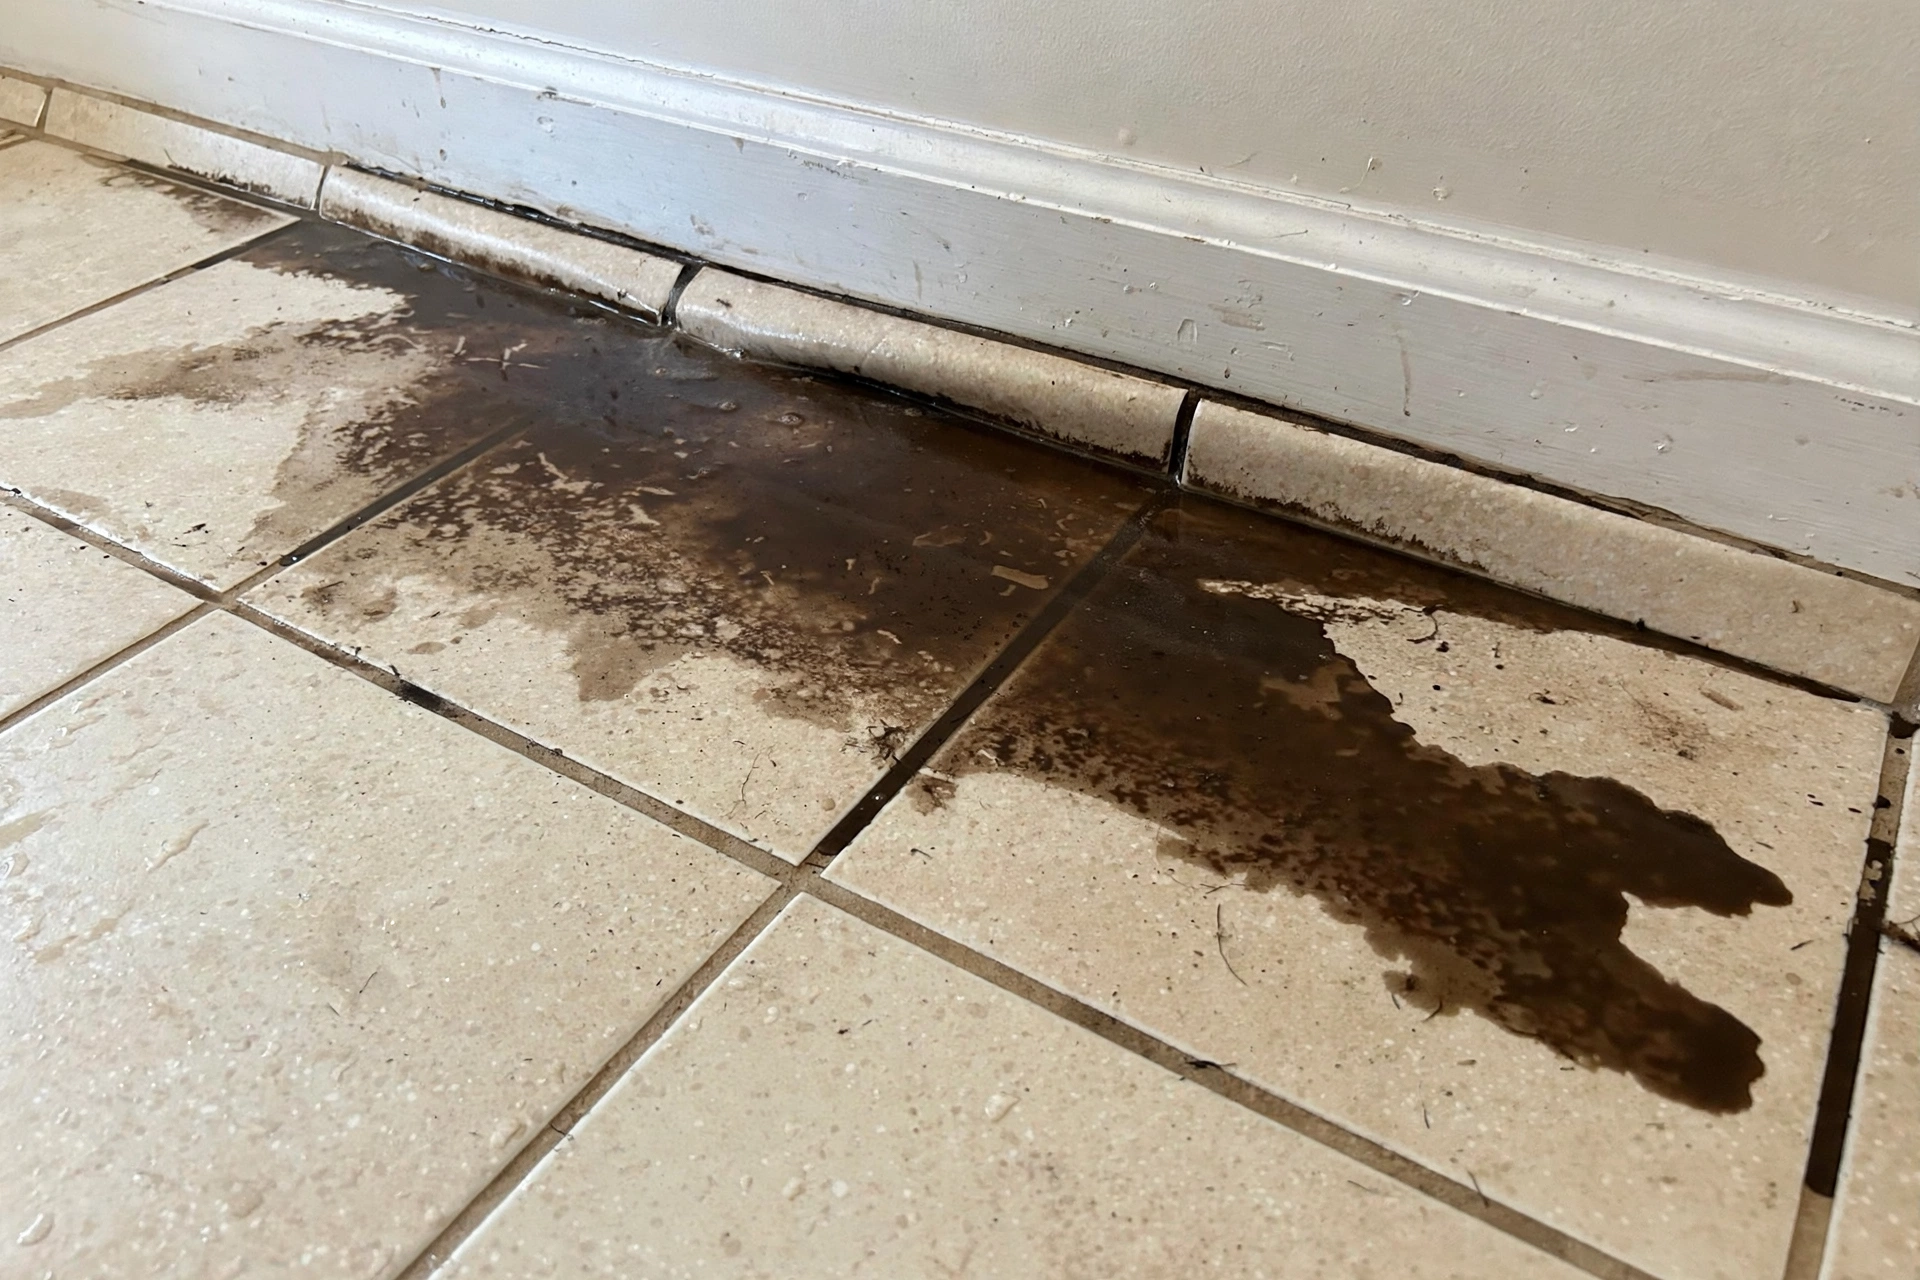
Spot repair fixes one leak at one place. We open a small area of slab at the leak, replace the damaged section of line, and patch the slab back. It is the direct fix when the rest of the line is sound.
What Spot Repair Is
A slab leak is a leak in a water line that runs under or through the concrete slab beneath your home. The full picture, signs, causes, and detection, sits on the homepage. Spot repair is the repair that deals with that leak at the leak itself, rather than by routing around it. We find the leak, open the slab at that one place, and replace only the damaged stretch of line.
The work is local by design. The rest of the line stays buried and untouched, the rest of the slab stays closed, and the rest of the home carries on. That is the appeal of a spot repair: it solves the problem at the source with the smallest footprint of any repair option. The trade-off is that it only makes sense when the leak is truly a one-off. If the line is failing along its length, a reroute is the fix that fits better.
When Spot Repair Fits
Spot repair fits when detection points to one leak in a line that is otherwise in good shape:
- One clear leak. Pressure testing shows a single section losing pressure, and listening and moisture readings agree on one place. A single failure in an otherwise sound line is the textbook case.
- A line in good shape overall. The line holds pressure everywhere except at the leak, and the joints around it test sound. A healthy line with one bad stretch does not need to be replaced along its full run.
- A leak that is easy to reach. The leak sits under open floor, such as a living room, hallway, or bedroom, where we can open the slab without moving a built-in fixture or tearing out a cabinet.
- A first-time leak on that line. The line has not leaked before. A first leak usually means a local flaw or a single point of wear.
- A leak under flooring that patches back cleanly. Tile, carpet, and laminate over the work area can be lifted in the work zone and dealt with after the slab patch sets. The patch gives a flat, level base for the flooring finish that follows.
If your situation matches this list, spot repair is likely the fix that fits. The steps below show how the visit runs.
When Spot Repair Does Not Fit
Spot repair is the wrong tool when the problem is the line, not the leak. In these cases we will tell you so before any repair work starts, and we will walk through the option that fits better, usually a reroute.
- The same line has leaked before. A line that leaks twice is wearing out along its length. Fixing each leak as it appears means more slab openings over time.
- Pressure testing shows weakness beyond the leak. If nearby sections also lose pressure or show wear, the leak you found is likely the first of several. A reroute replaces the whole run in one job instead of chasing leaks one by one.
- The leak sits where we cannot reach it from above. A leak under a built-in cabinet, a tub, a shower base, or a heavy built-in fixture blocks access from above. Tunnelling from outside or a reroute around the area fits better than pulling out the fixture.
- The line runs under a finished floor you want left alone. A leak under stone tile, hardwood, or a large finished area can still take a spot repair, but the opening may disturb more finish than the leak itself calls for. Tunnelling or a reroute can leave that floor untouched.
- More than one leak shows up. Detection sometimes turns up two leaks on the same run. At that point the line, not the leak, is the problem.
Step-by-Step Process
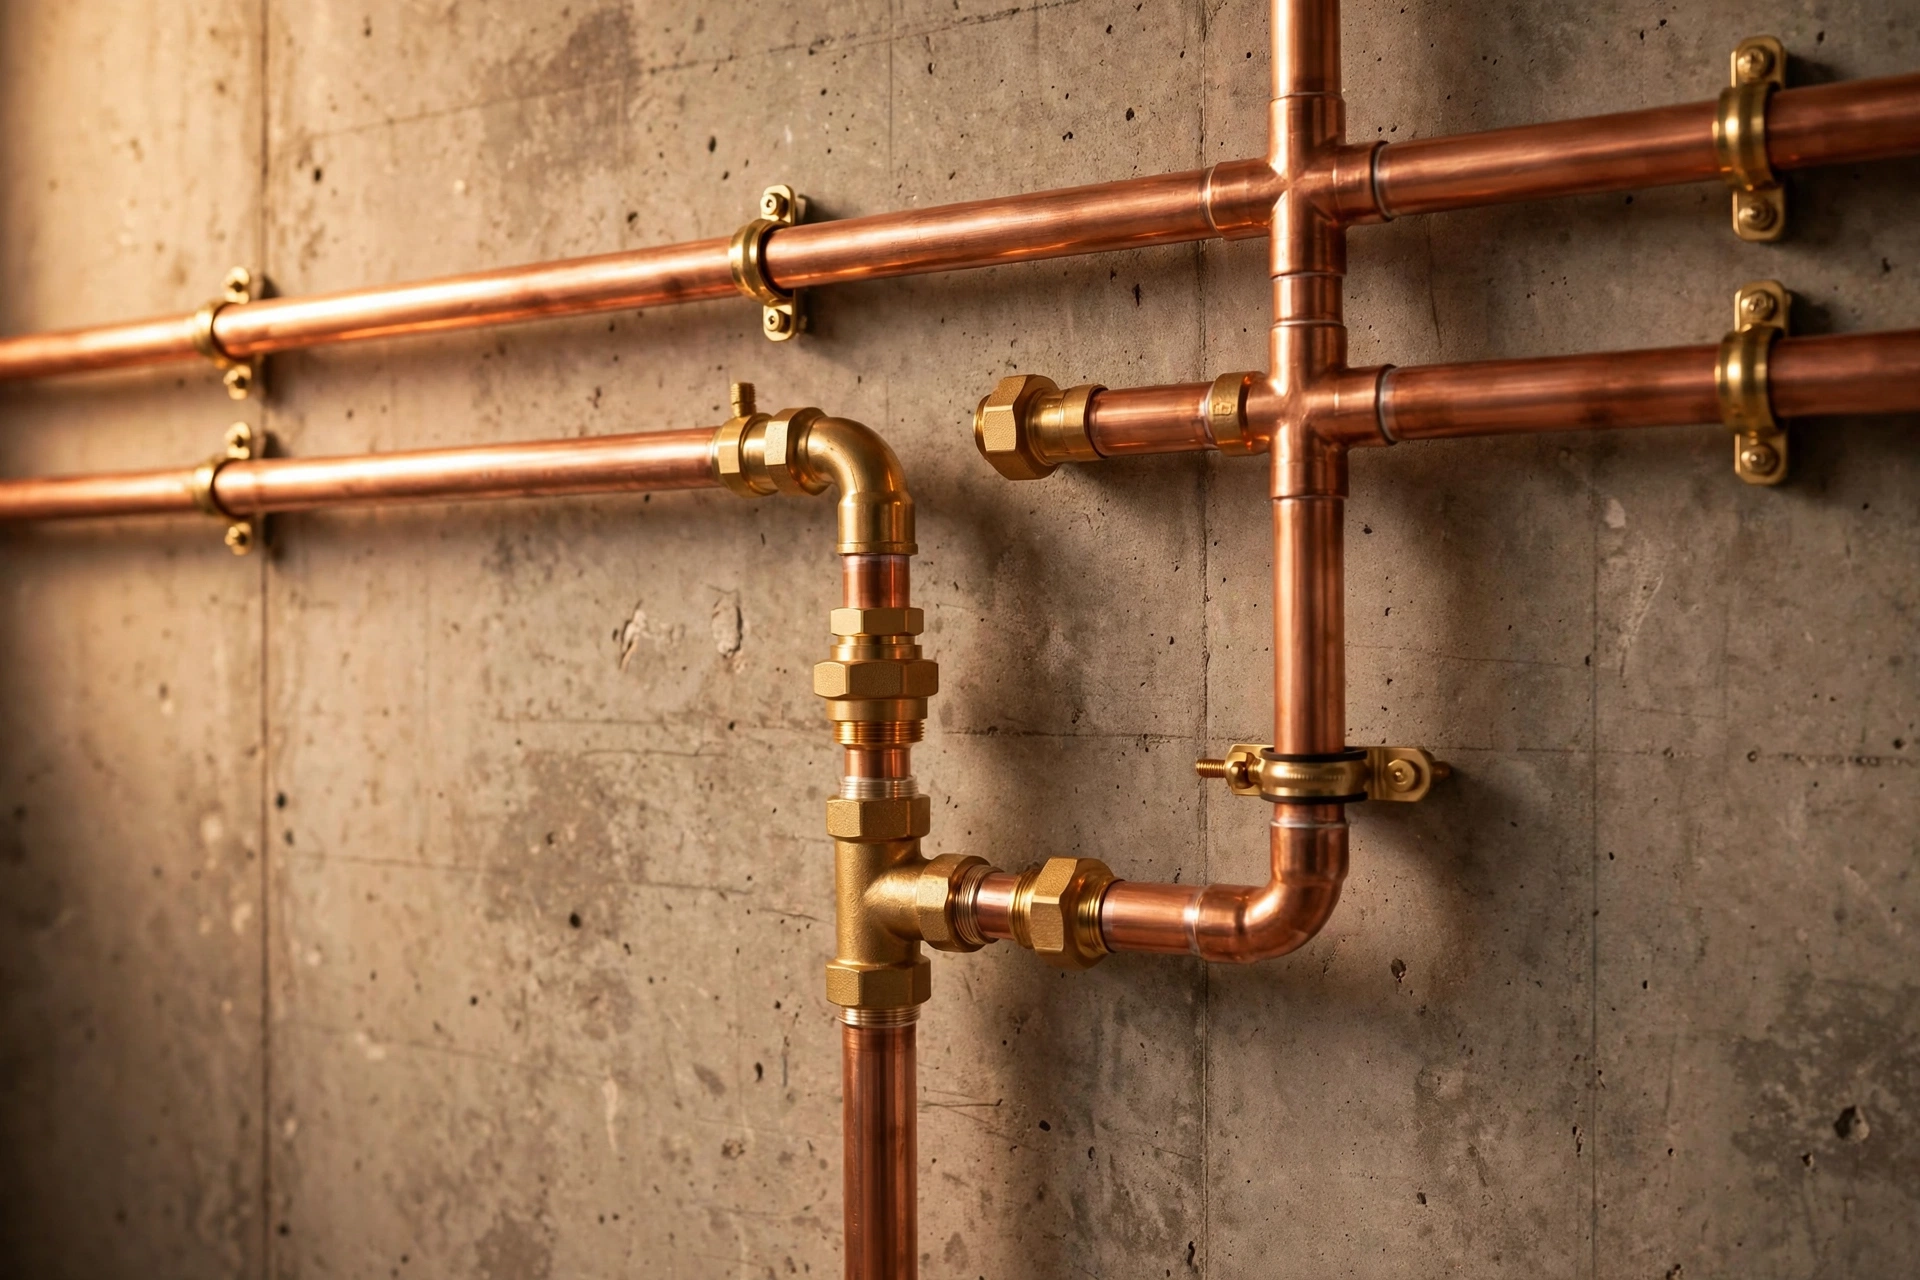
Meter check
We run a meter check with all water off and confirm water is leaving the system somewhere hidden.
Locate and mark
We locate the leak with listening gear, thermal imaging, pressure testing, and moisture readings, then mark the spot on the floor.
Prep the work area
We lay dust sheets, shut off water to the home, and drain the line so the work area stays dry.
Open the slab
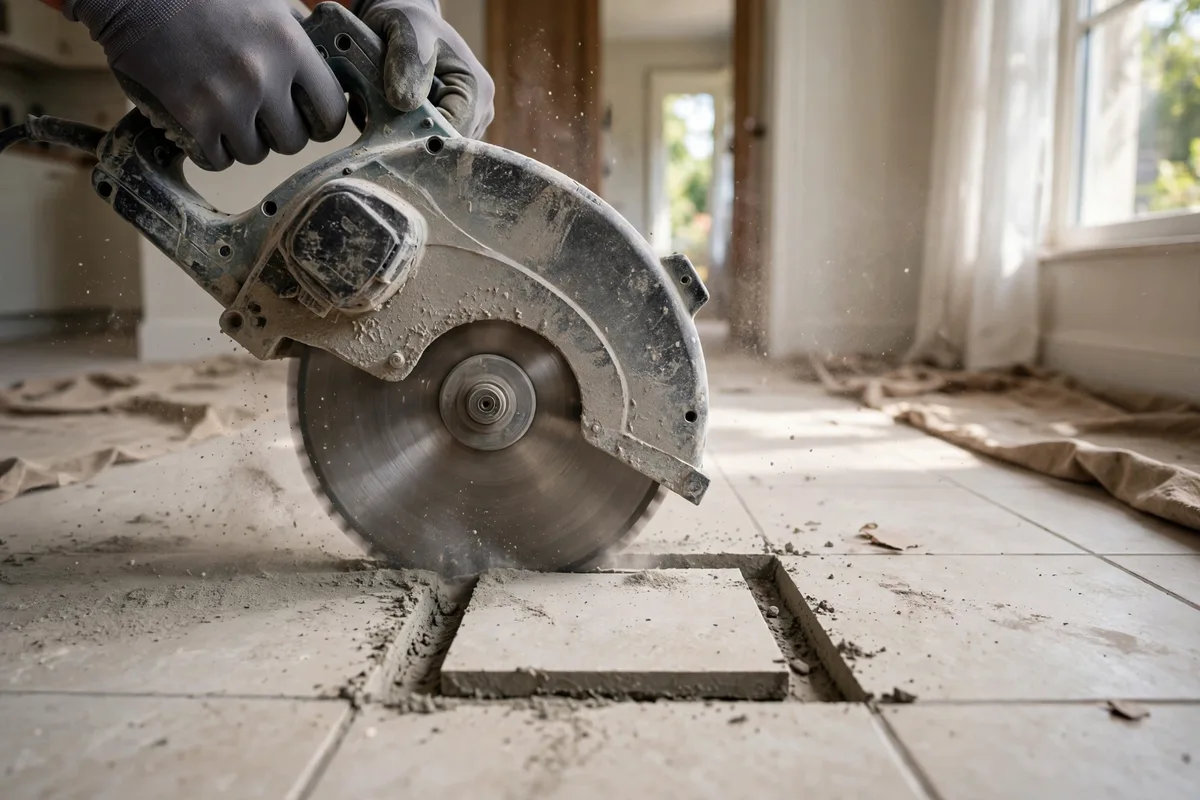
We open a small area of slab at the marked spot and expose the damaged section of line.
Replace the section
We cut out the damaged section and fit a new section in its place with sound joints, then test the joint under pressure.
Patch back and confirm
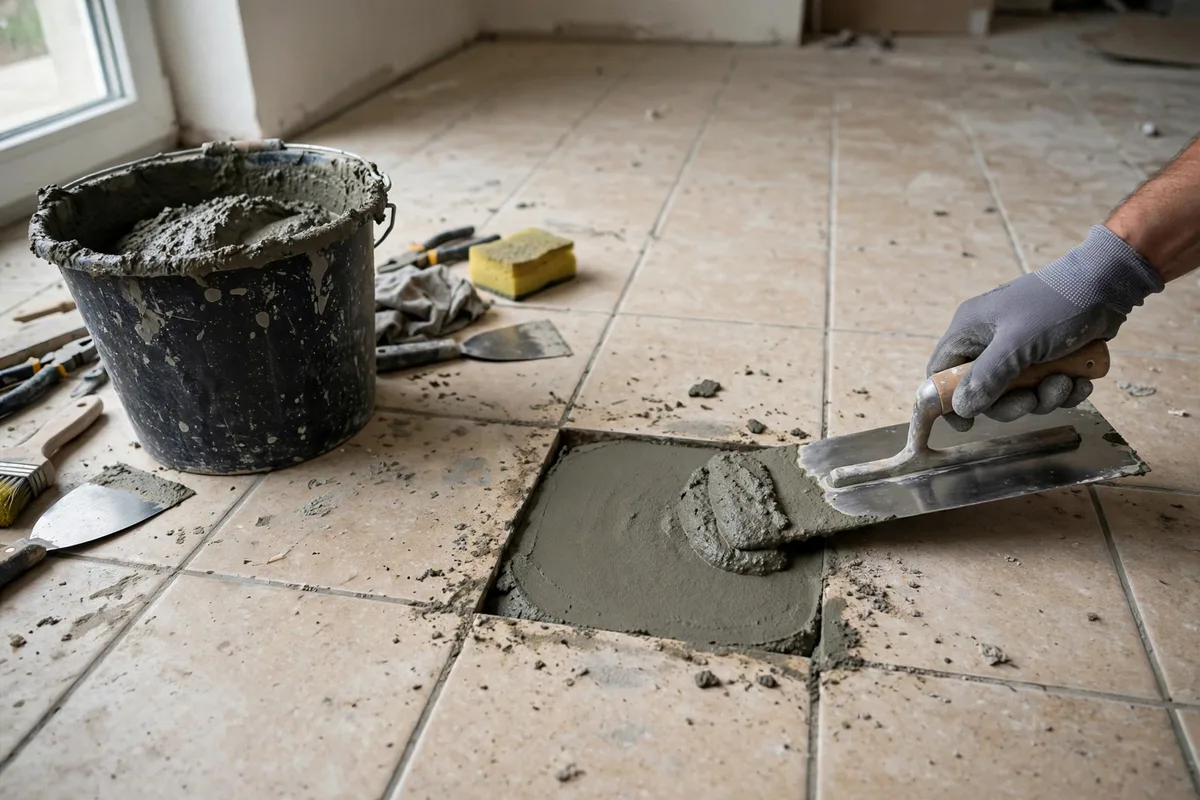
We patch the slab back, restore water to the home, and run a second meter check and a run of the taps to confirm the leak is sealed.
Steps one and two are detection, and they decide everything that follows. We do not open concrete until the methods agree on one place.
What to Expect in Your Home
A spot repair visit is a workday in one part of your home.
Water will be off for a stretch. We shut off water to the home while we open the slab and swap the section of line. Taps, toilets, and appliances that use water will sit idle during that stretch. Fill a few jugs and a bucket before we start, and plan showers and laundry around the visit.
Expect noise and dust. Cutting concrete is loud, and it raises dust even with sheets down. We lay dust sheets around the work area and keep the opening tight, but a fine layer of dust may settle nearby. Move rugs, cushions, and anything you value out of the room before we arrive.
Furniture moves out of the work zone. We need clear access to the floor around the marked spot. Shift chairs, tables, and floor items to another room. If the leak sits under a large piece you cannot move alone, tell us when you call so we can plan for it.
The slab patch needs time to set. We patch the slab back to a flat, level finish before we leave. The patch needs time to harden before it carries weight or takes a new flooring finish. We will tell you when you can walk on it and when a flooring installer can lay the finish over it.
Pets and kids stay clear of the work area. Tools, open concrete, and a wet work zone do not mix with curious pets or small children. A closed door between the work area and the rest of the home keeps everyone safe and lets us work without stops.
When we leave, water is back on, the meter sits still with taps off, and the patch is in place. If anything looks off in the days after, call us and we will come back and look at it.
Spot Repair Compared to a Reroute
These two fixes solve the same problem in opposite ways. One deals with the leak where it sits. The other leaves the old line in place and runs a new one around it.
| Approach | How it works | When it fits | What to expect |
|---|---|---|---|
| Spot repair | Open a small area of slab at the leak and replace the damaged section of line. | One leak in a line that is otherwise sound and easy to reach. | Work in one room, a small slab opening, then patching back. |
| Reroute | Run a new line through walls or the attic and cap the old line under the slab. | A line that keeps leaking, or a spot fix that will not hold. | Work in walls and the attic, with the slab left closed. |
For the full picture of rerouting, see water-line reroute and repiping. For an overview of all four repair options, see the homepage.
Frequently Asked Questions
We combine listening gear, thermal imaging, pressure testing, and moisture readings to narrow the leak to one place, then mark that spot on the floor. No single reading decides the opening. The methods have to agree before we cut concrete.
We keep the opening as small as the work allows, just wide enough to expose the damaged section and fit the new section with sound joints. The size depends on how deep the line sits and how much room the tools need. We mark the area before we start so you can see it.
A spot repair holds when the rest of the line is sound. If pressure testing shows the line is weak along its length, or if the same line has leaked before, a reroute is the fix that fits better. We tell you which case yours falls into before any repair work starts.
We lift only the flooring inside the work area, then patch the slab back to a flat, level finish. Laying a new flooring finish over the patch, such as tile or wood, is separate work that you can line up with a flooring installer. We leave the patch ready for that step.
Often, yes, as long as we can reach the slab under the leak. A cabinet, tub, or built-in fixture can block access from above. In that case we look at tunnelling or a reroute instead, and we walk through those options with you before choosing a path.
We stop, show you what we found, and walk through the options before going further. That may mean widening the opening a little, or switching to a reroute if the line is in worse shape than detection showed. You decide the next step with the full picture in front of you.
Last updated: October 16, 2026.